

3 Easy Steps To Take Your Phone Photography Up A Notch
Ever wonder how some people achieve stunning pictures only using a cell phone? Yep, phone photography is quickly becoming a fast up and coming genre. Those tiny cameras we carry around every day, have come a long way since the early 2000s. Still, I did adore my T-Mobile Sidekick and its incredible 2-megapixel camera.
But I’ll let you in on a secret; I use my mobile phone for photography almost as much as my larger cameras. It’s more about how you use the camera you have available.
By applying a few photography composition rules along with a couple of quick tips, you can capture impressive photos in minutes. So next time your heading out the door, try these simple and easy cell phone photo tips and composition rules to take your images up a notch. Let’s make the most out of the camera we all carry around every day.
1: Clean The Lens
I can’t tell you how many times forgetting to clean my lens before taking a photo has ruined my image. It’s easy for my fingers to smudge the lens since I’m continually placing and removing my phone from my pocket. Also, lint from pockets always seems to adhere to the glass. If you’re like me and like to snap photos of just about everything that catches your eye, small detritus like these tend to build up quickly and cause blurred and unusable images.
Make a habit of cleaning the camera lens before taking a photo to remove any debris or fingermarks. This simple step will dramatically improve the quality of the image.


2: Set Your Focus And Exposure Level
Setting Manual Focus
Next, make sure the camera focuses directly on the subject. Sometimes autofocus on our mobile phones doesn’t quite get it right and blurs our primary focal point. Using the manual focus option is as easy as tapping the portion of the screen where you want the photo the sharpest.
When photographing spring blooms, the sharpest point of focus should be the stamen within the flower; consider them as the eyes of the flowers. After tapping the screen, a small square appears. Inside the square is where the focus is the most defined.


Adjusting Exposure Levels
Next to the focusing square is the exposure slider. Slide your finger up or down the line to increase or decrease the brightness levels.
The camera on your mobile likes to expose for the brightest part of the image, as when you’re photographing backlit objects. Instead of trying to bring up the shadows in post-processing, use the exposure slider to increase brightness on your subject.


3: Don't Forget About Photography Composition
Fill The Frame
Another reason photos may fall short is they have no main feature or central theme drawing the viewer’s attention. Many beginners often include too many elements while not defining a clear focal point. Your viewer doesn’t know what or where to look.
Most well-composed photos have one common factor, a clear point of focus. There is no mistaking where the viewer should look. Filling the frame drives you to become more intentional with your photography composition. It encourages you to spend time considering how to tell your photographic story in the best possible way.
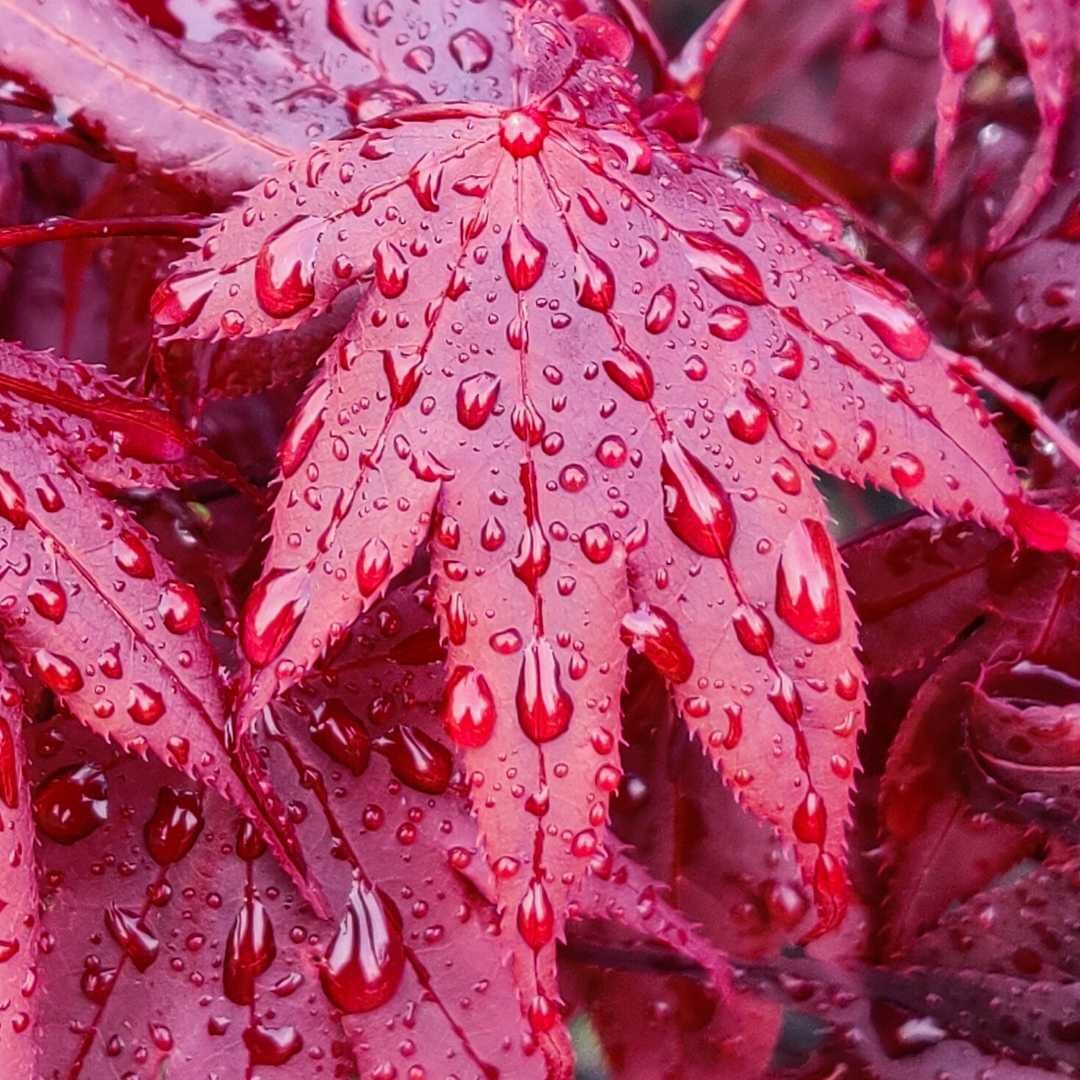
Take the photo of the raindrops on the red maple leaves. In the first image, you see the mulch, grass, and a portion of the bright sidewalk. You want to remove anything that pulls attention away from or competes with the raindrops and maple leaves. Remember to look at the corners and behind your main focal point. Determine if it adds or takes away from the story you want to tell.
Every piece within your frame should work with and complement the main idea. Bringing forward the details and patterns of the most significant elements, in this case, the raindrops on the leaves. When you feel it does, then touch the big white dot.

Rule of Thirds
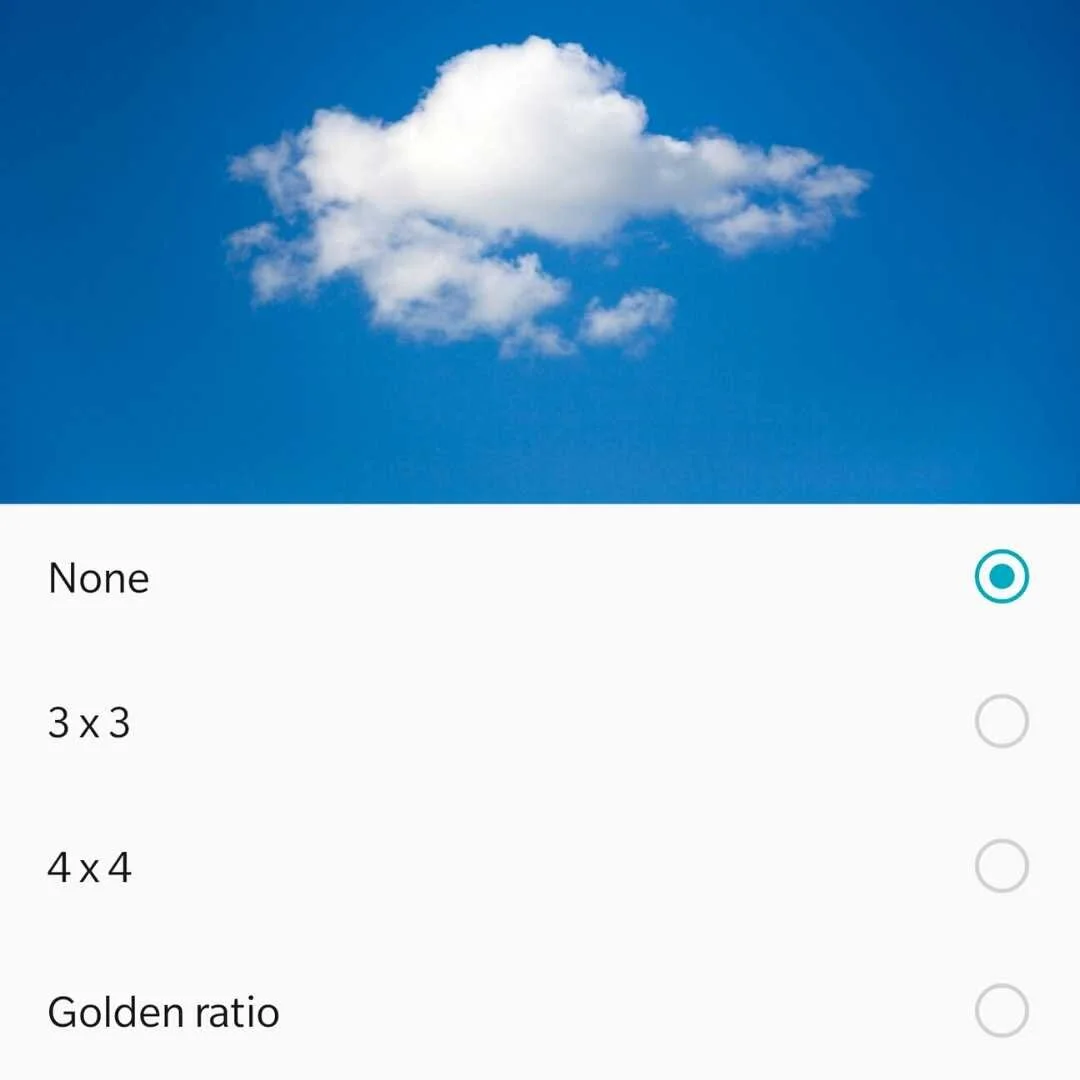
The Rule of Thirds is one of the most popular and frequently used photography composition rules. Since this blueprint is highly visual, many new photographers start with this model first. Add them to your smartphone’s camera display by going within the settings panel and selecting the 3×3 on an Android or grid on an iPhone.
This simple rule involves breaking your image into nine equal parts using two vertical and two horizontal lines. Then place the most significant details off-center along these lines and intersecting points. This type of composition is an excellent way to give structure, interest, and more visual appeal to your photos.
You can implement the Rule of Thirds in any style of photography, from portraits to landscapes.
For more photo compositions rules you can use for mobile phone photography, read


Add them to your smartphone’s camera display by going within the settings panel and selecting the 3×3 on an Android or grid on an iPhone.


Wrapping Up
Whether you’re using a DSLR camera or your cell phone for photography, applying these quick tips can dramatically change the feel of your photos. Have fun with your photography. And most importantly, take your time, appreciate the journey, and enjoy creating those memories.
If you enjoyed this article and know of someone who would also find it helpful, please share it with them.
Want to keep this information handy, don’t forget to bookmark the page. Sign up, and I’ll send you the free Beginners Guide To Understand The Exposure Triangle e-book. I’ll also hook you up with beginner photography tips and short video tutorials.
I’ll keep you in the loop on where to find the best photography locations without going to all the same places as everyone else.
If we’re not connected on social media, come on over, and let’s be friends. You can find me on Instagram: @thehikingtexan or Facebook: @thehikingtexan

I designed this site to aid those new to photography, learn the terminology, use camera settings, and use their cameras effectively.
I’ll help you grow your understanding of photo composition fundamentals to take your images to the next level. Also, to support you in finding the confidence to travel off-the-beaten-path and photograph natural environments.
You’ll find various resources on this site, from easy to understand photography tutorials and tips to unique female-guided photography tours. You’ll also find some of my favorite photography, travel, and outdoor gear.
Affiliate Disclosure: This site contains affiliated links to my favorite websites. As a verified Amazon Associate and a member of the Amazon Influencer Program I earn from qualifying purchases. I may receive a commission for any purchases made by you on their website using these links, but don’t worry, you won’t pay more by going through their link. Plus, I only recommend products I’ve used, thoroughly tested, and can recommend without hesitation.